How to build and deploy a Jekyll blog in minutes

So you decided to start a blog for whatever (good) reason. I will teach you how you can build and deploy a site like this in only a few minutes.
This website uses Jekyll which works like a translator. This post actually follows the same steps I’ve used to create this website. You provide Jekyll a couple of files written in Markdown (or Textile) and Jekyll translates them to HTML. The generated HTML can then be served and deployed to GitHub Pages or Netlify.
Prerequisites
First, make sure you have Ruby installed.
You can see instructions on how to install Ruby here.
If you have successfully installed Ruby you should be able to run $ ruby --version in your terminal.
Now let’s install Jekyll:
$ gem install jekyll bundlerProject
Now we will create the skeleton of our blog. We are going to let Jekyll do all the work for us.
$ jekyll new dutyblogThis command generates a simple Jekyll website where you can add posts. The theme can be modified, but that’s not the scope of our tutorial. If you want to further modify the theme of your blog, check out the Jekyll documentation.
Run locally
Now let’s see how this looks on our local machine. It’s important to make sure our website works locally before deploying into production.
$ cd dutyblog
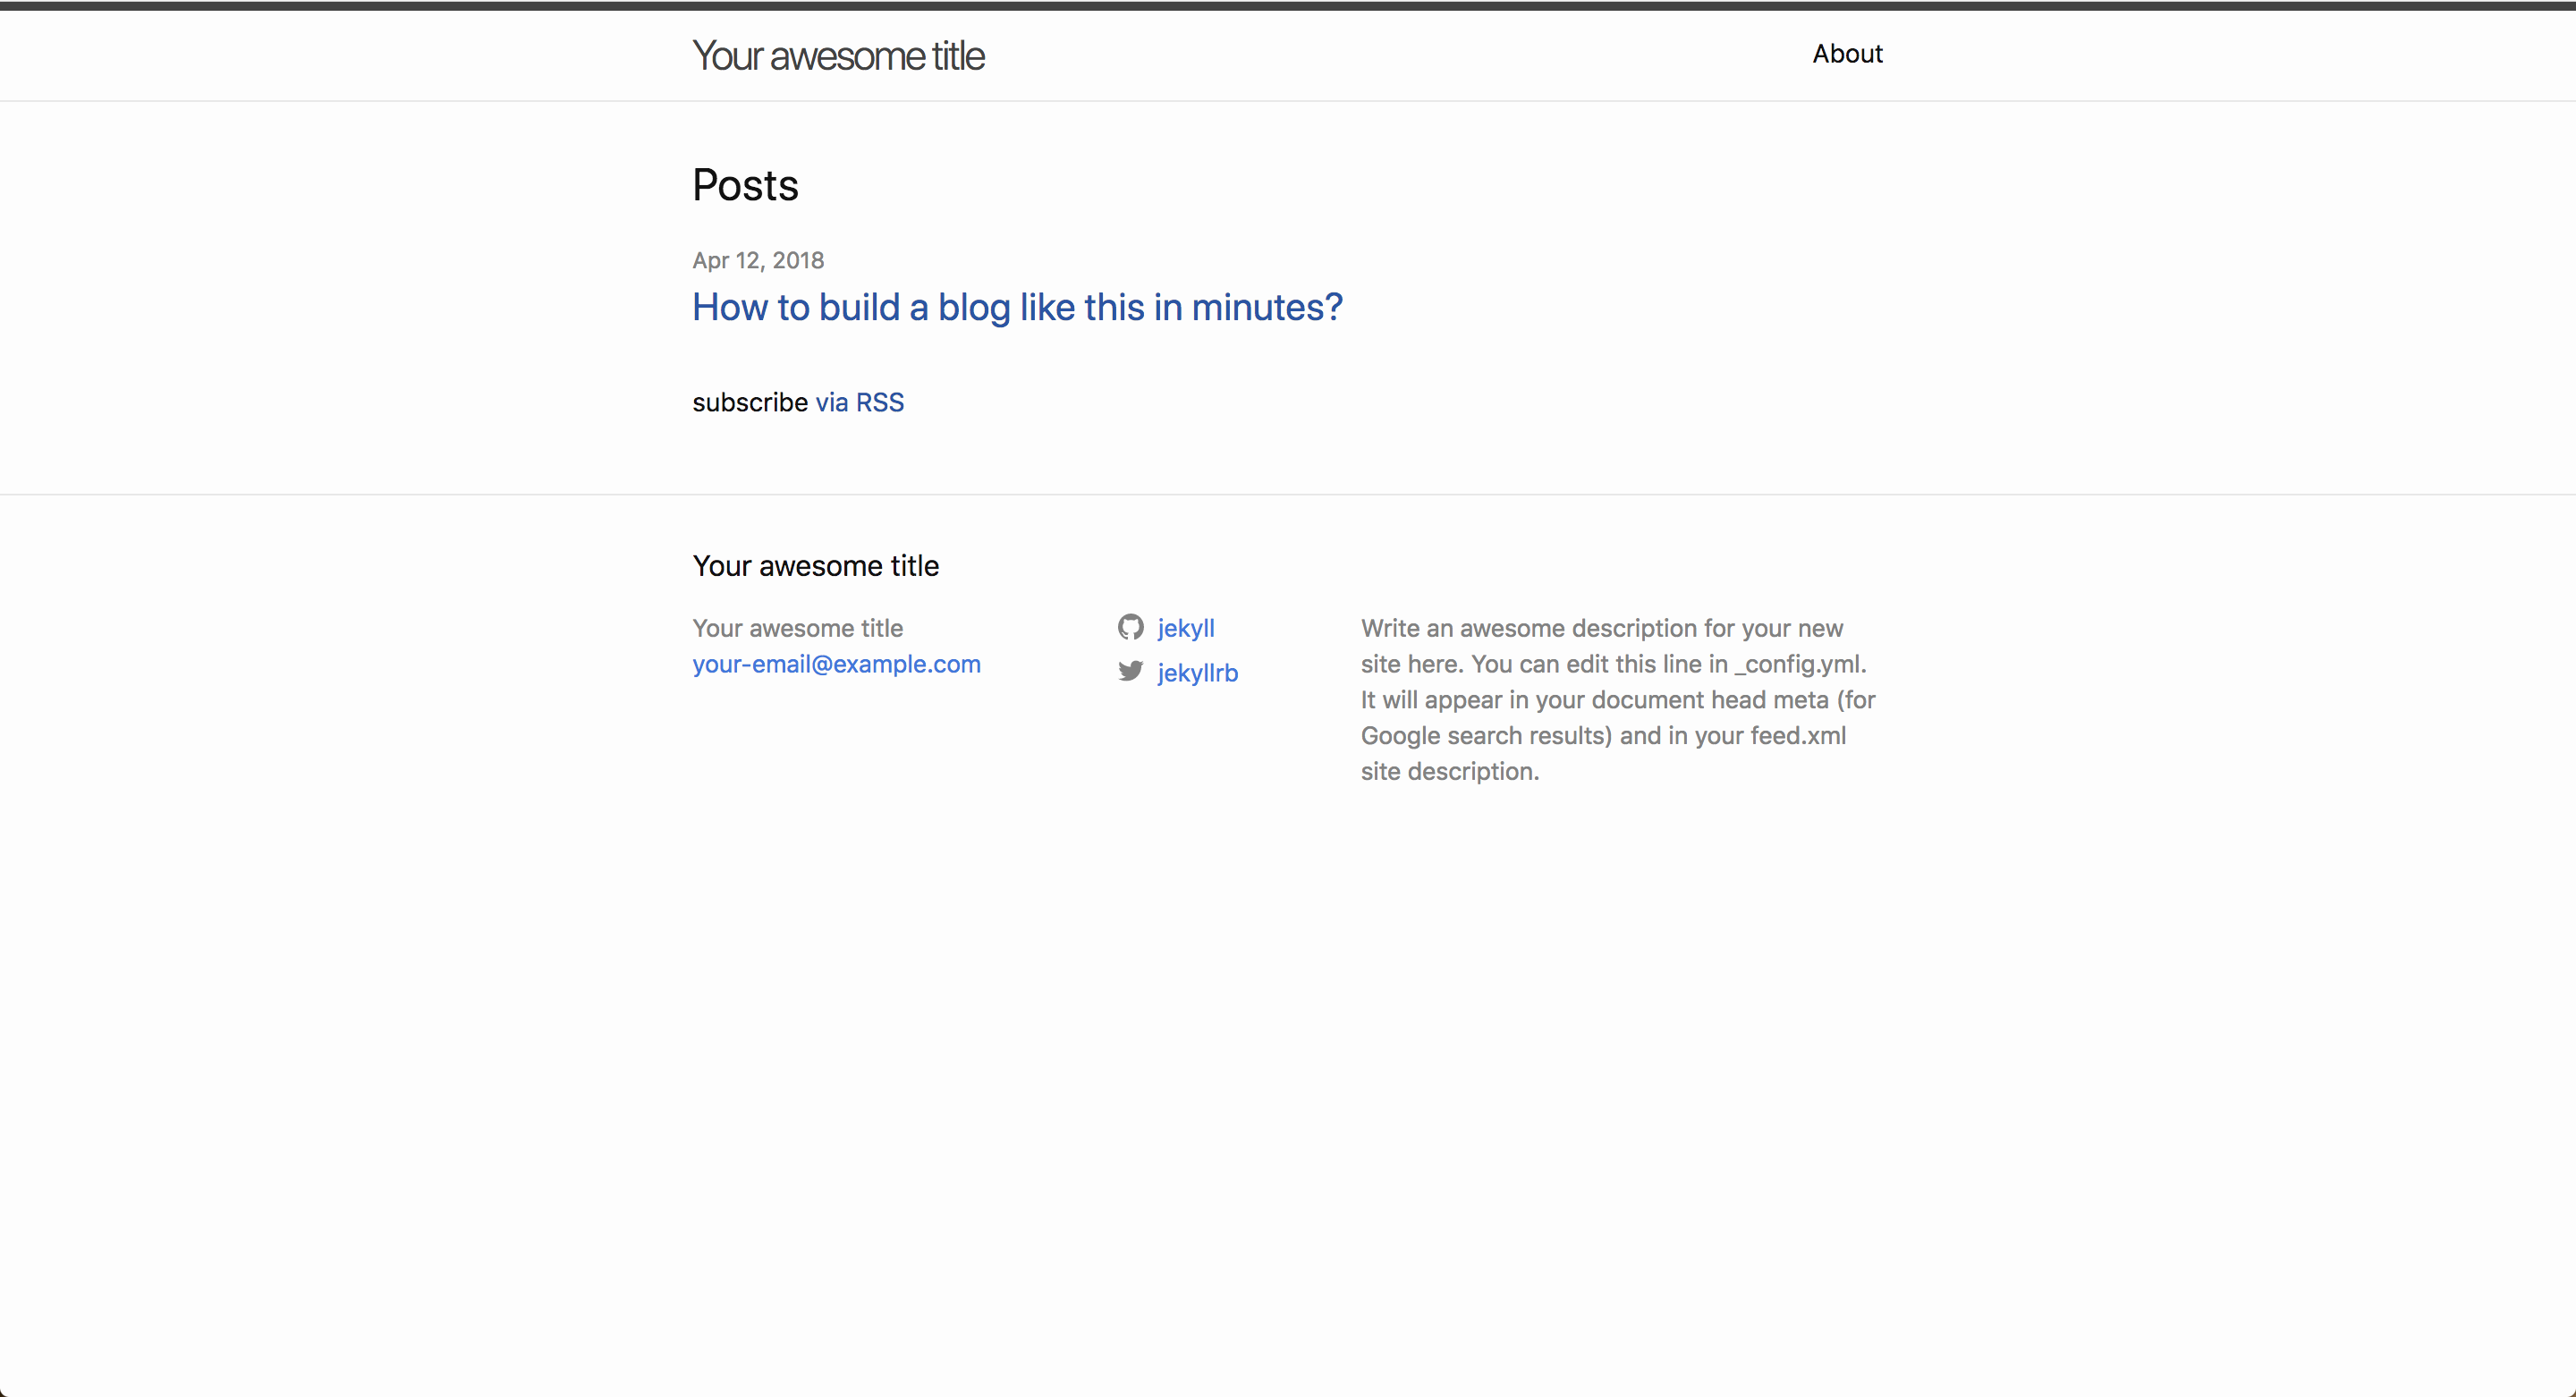
$ bundle exec jekyll serveAfter following the above steps, you should not be able to navigate to localhost:4000 and successfully see your website.
Customize
Now let’s change the _config.yml to make the blog more personal.
Here’s mine after modifying it:
  title: DutyLabs blog
  email: contact@dutylabs.ro
  description: My awesome description
  baseurl: ""
  url: ""
  twitter_username: dutylabs
  github_username:  dutylabs
  # Build settings
  markdown: kramdown
  theme: minima
  plugins:
    - jekyll-feed
Push to GitHub
Before deploying the website, we need to make it available on GitHub so that Netlify knows where your website code lives.
Sign up to GitHub
If you haven’t already, you should Sign up on GitHub. GitHub offers you unlimited public repositories. If you are more likely to create stuff that you want to be completely private, although GitHub offers this feature with a monthly subscription, you can also choose BitBuckets since it’s free for maximum 4 collaborators.
Create the repo
Then, create a new repository:

Push your code
$ git init
$ git remote add origin https://github.com/<your-username>/<repo-name>.git
$ git push -u origin master
Deploy
Now that we have a site up and running, let’s deploy it. We’re going to use Netlify for this task (it’s free!).
If you haven’t already, go ahead and Sign up on their platform.
Step 1
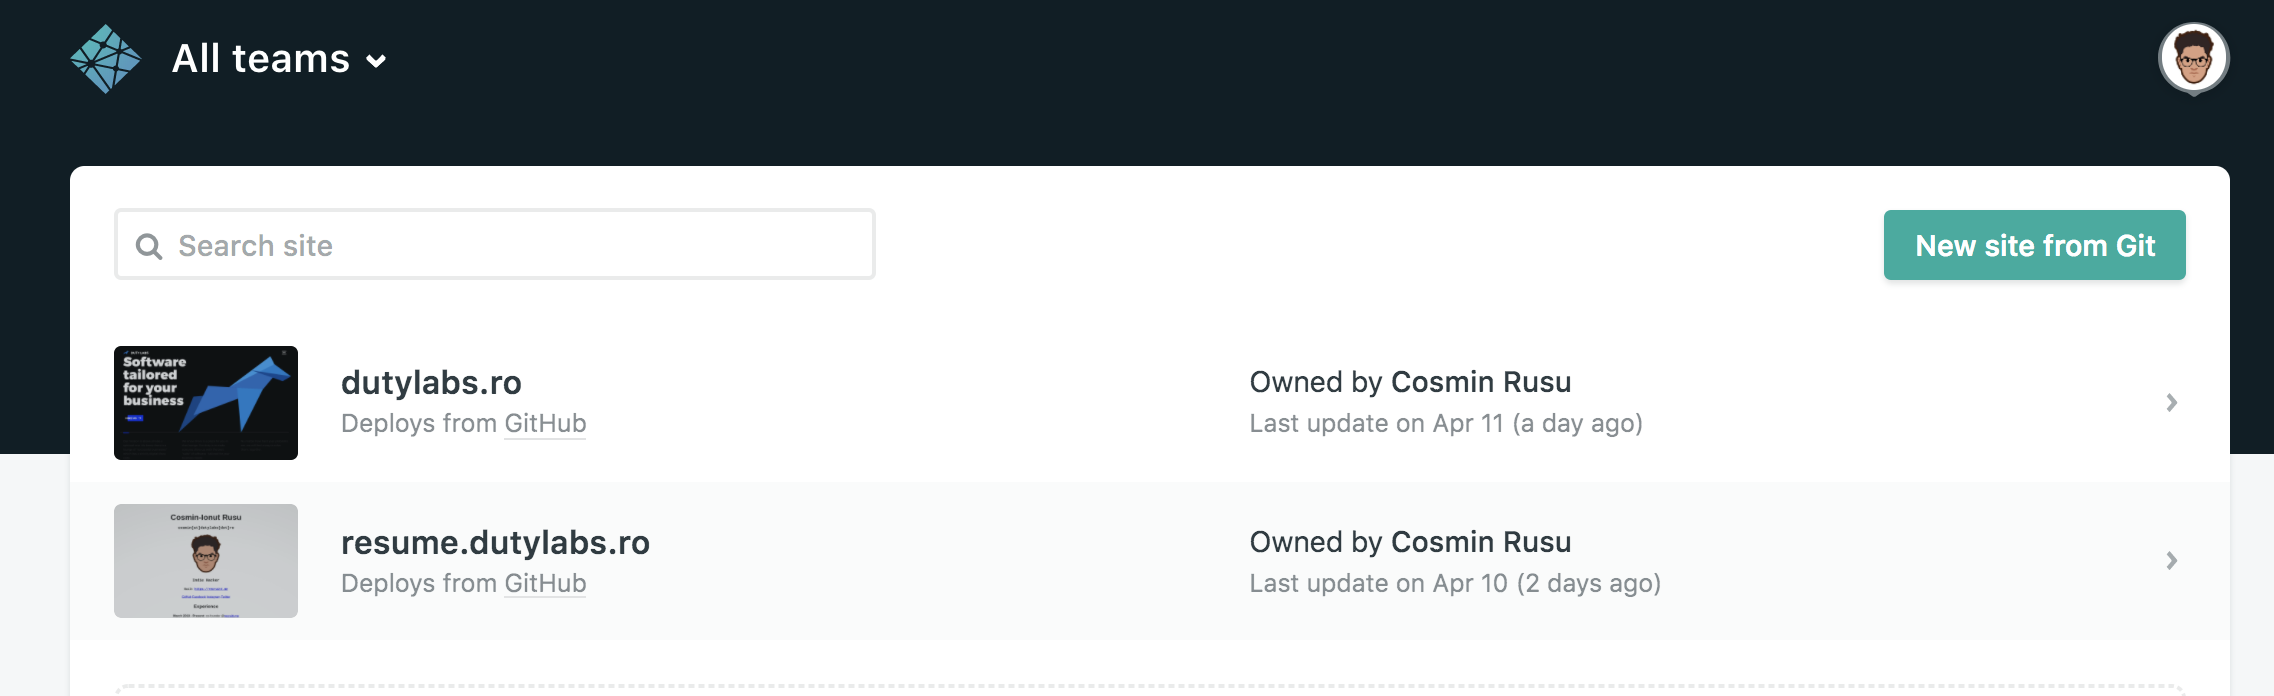
Navigate to your Netlify dashboard https://app.netlify.com and create a new site from Git.
Step 2
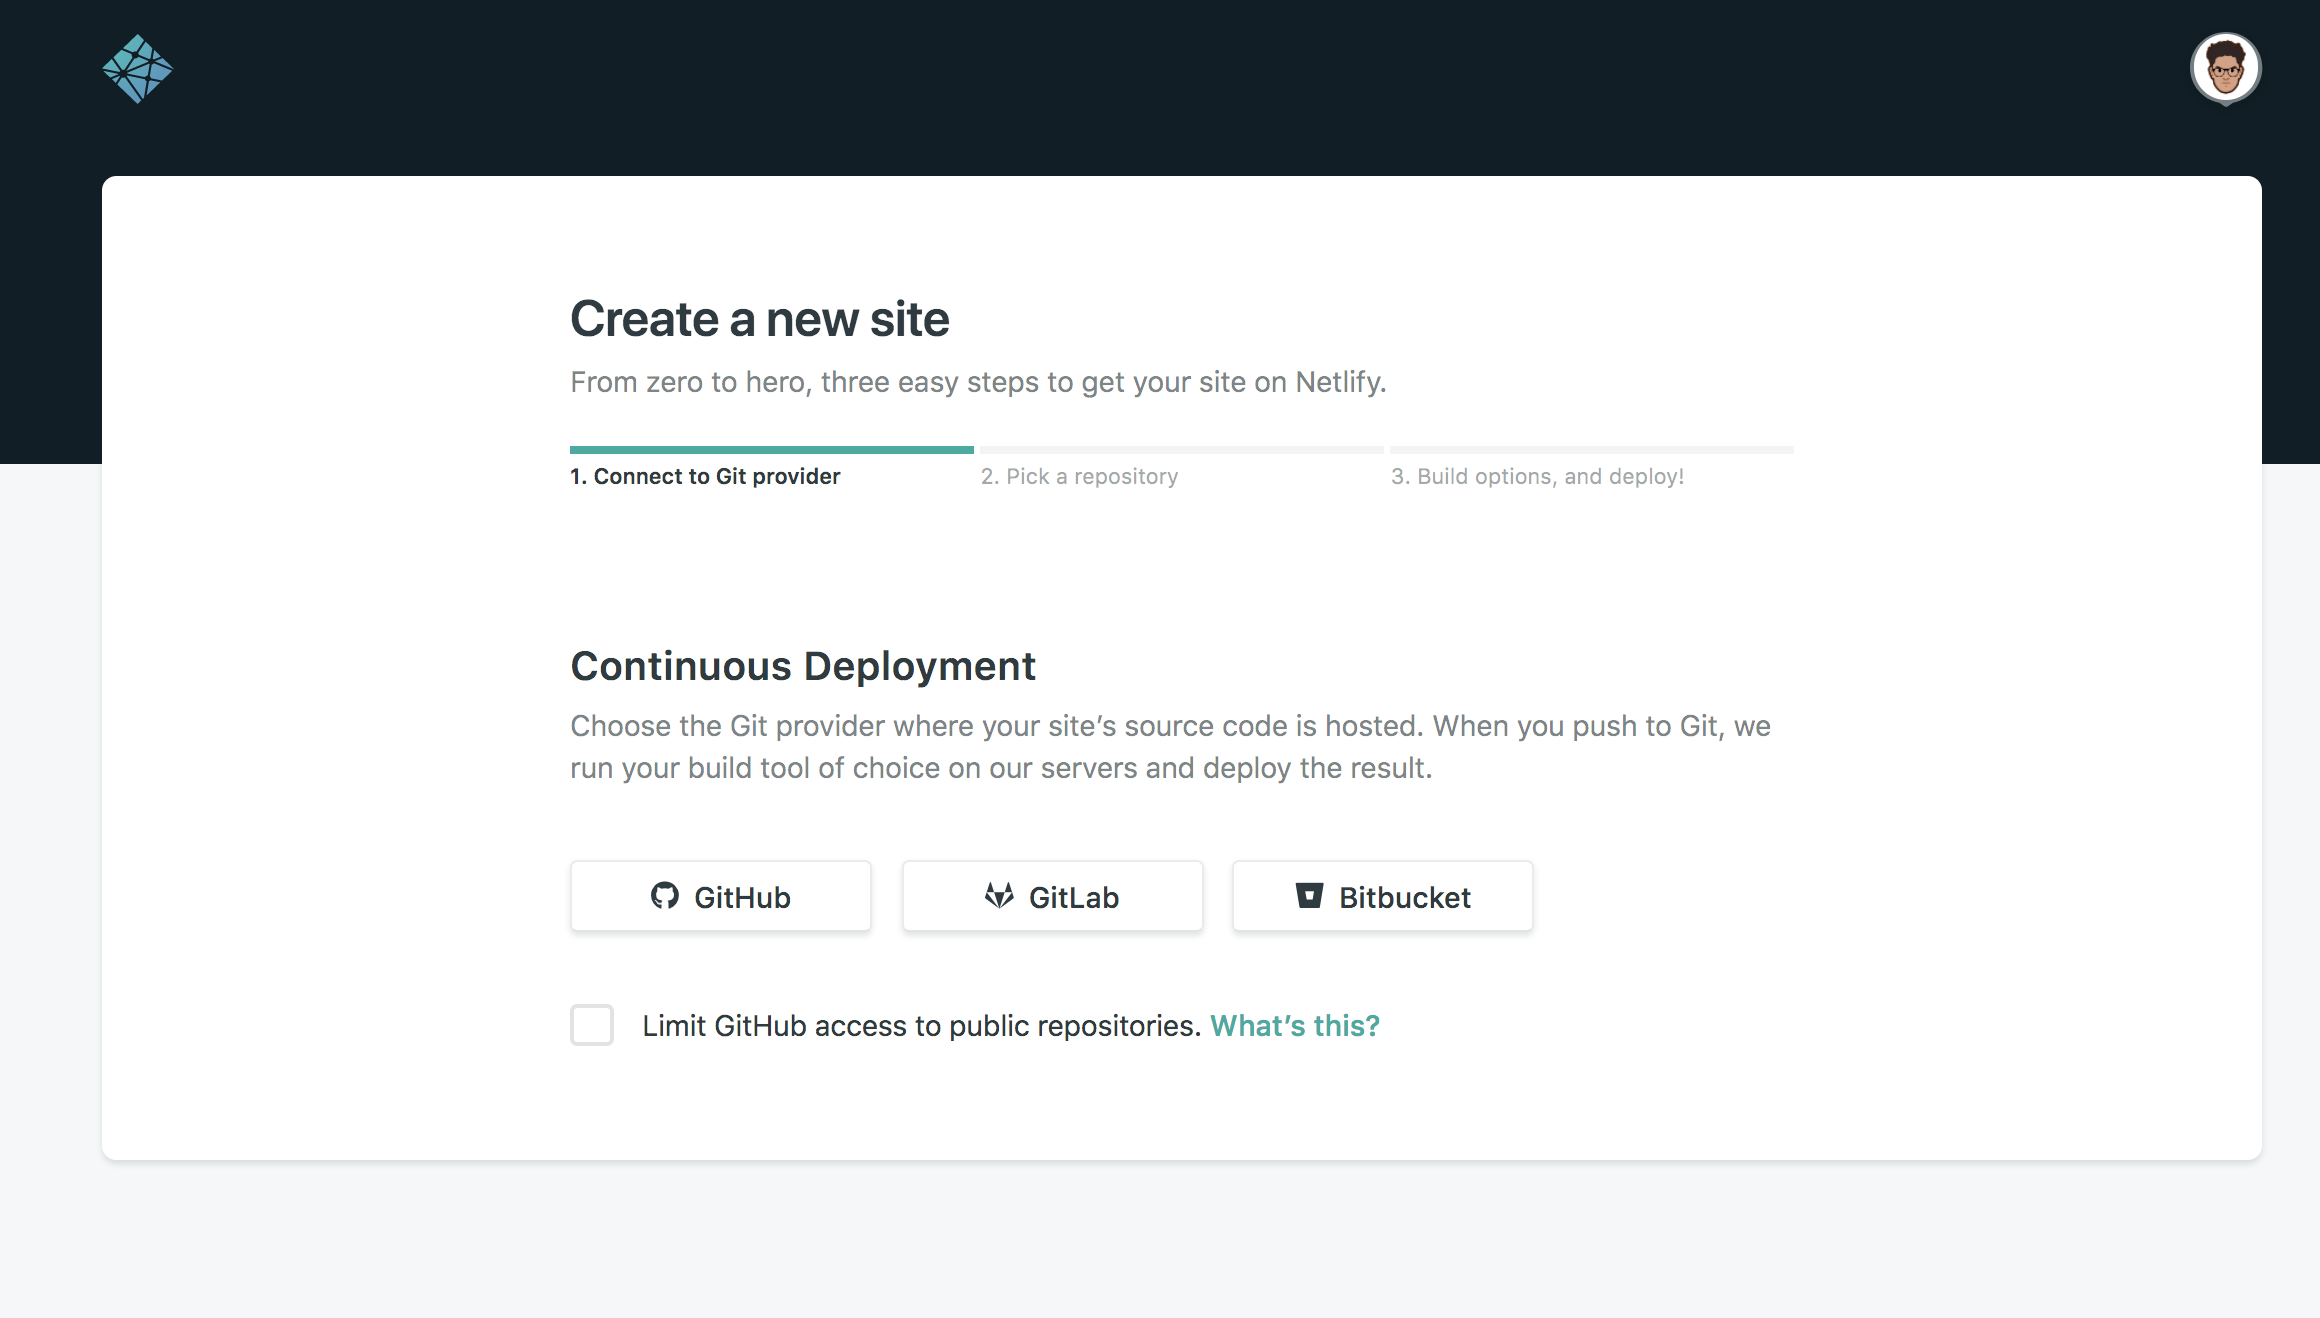
Choose GitHub from the list (or any other Git provider you may use), and choose the repository you pushed your code to.
Step 3
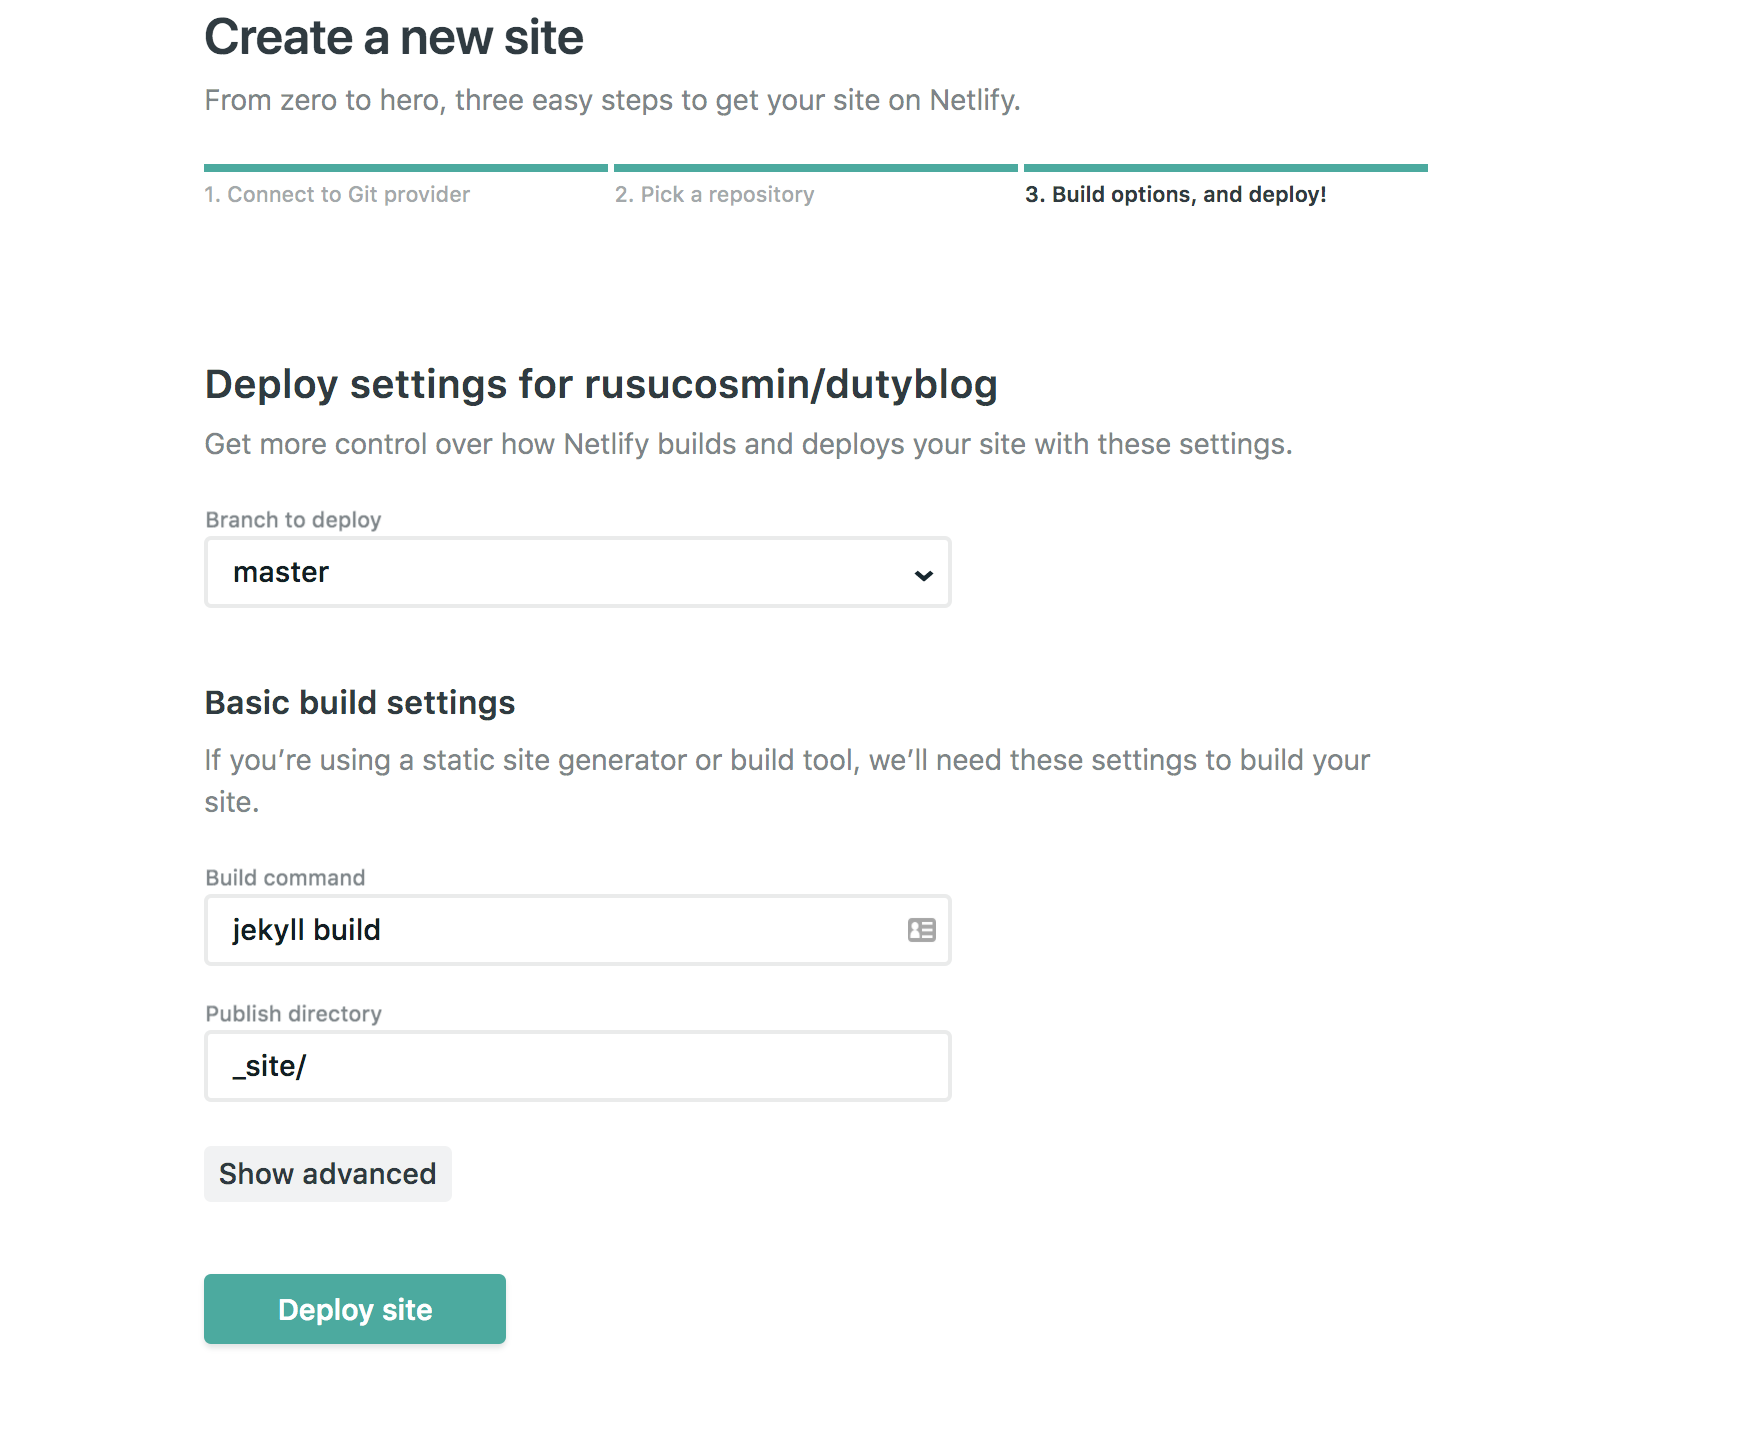
Since Netlify is quite smart, it should pick up the right build command for you already. Make sure the build commands and the path match what I have in the next picture. This is basically the way you tell Netlify how to compile and build your website and then you specify the path to the build directory.
Step 4
Click “Deploy” and wait. In seconds, you should have a custom subdomain on Netlify. I changed mine to be https://dutyblog.netlify.com/. I also added my custom domain to Netlify which was very easy and so the blog is also available on https://blog.dutylabs.ro
Conclusion
I think Jekyll is the best way to kick off a blog or a simple CMS website. Netlify is also a very cool platform where you can host such websites. Both of them are free, and anyone with basic coding skills can rapidly learn how to use these tools.
The source code of this blog is open source and can be accessed at https://github.com/dutylabs.
PS
Do you have a cool idea of a mobile app? Perhaps a web site? Do you have an awesome disruptive idea? Drop us a line at contact@dutylabs.ro and we can help your idea come to life.